
Table of Contents
- Why Research Peptides Fail Experiments: The Real Causes
- Peptide Stability and Degradation: The Silent Experiment Killer
- Peptide Solubility and Aggregation: When the Compound Never Reaches the Assay
- Peptide Storage and Handling: Where Reproducibility Is Won or Lost
- How to Verify Peptide Purity Before You Trust a Result
- Reading a Peptide Certificate of Analysis Line by Line
- Controls, Replicates, and Assay Validation: Separating Failure From Inactivity
- Conclusion
- Frequently Asked Questions
Last Updated: October 19, 2026
Why Research Peptides Fail Experiments: The Real Causes
A failed peptide experiment rarely means the compound was inert. More often, something went wrong before the assay ever ran. At Amino Fuel Labs, we see this pattern constantly: researchers blame the peptide when the real culprit is degradation, aggregation, or a handling step nobody documented. Research peptides are fragile molecules, and small errors compound fast.
This guide breaks down the seven most common reasons research peptides fail experiments. You will get a diagnostic workflow, verification steps, and the handling habits that separate reproducible results from wasted batches. Most guides skip the troubleshooting part. We start there.
Research peptides are short chains of amino acids sold for laboratory study only, not for human use. They are not approved drugs, and no regulatory body has signed off on their safety or efficacy. That distinction matters for how you interpret results.
Below, we walk through each failure mode in order, from the compound itself to the assay around it.
Peptide Stability and Degradation: The Silent Experiment Killer
Peptide stability is the ability of a peptide to keep its structure and activity under given storage and handling conditions. When stability fails, the peptide degrades, and your assay measures breakdown products, not the compound you intended to study.
Degradation is the most common cause of "dead" peptide results, and it is the hardest to spot. A vial can look fine and still be compromised.
Common triggers:
- Repeated freeze-thaw cycles that crack the peptide backbone
- Room-temperature exposure during weighing and aliquoting
- Protease contamination from shared equipment
- Light exposure for photosensitive sequences
A common mistake is assuming a sealed vial is a stable vial. It is not. Every time you open it, moisture and oxygen get in.
Peptide Solubility and Aggregation: When the Compound Never Reaches the Assay
Peptide solubility and aggregation determine whether your compound actually dissolves and stays dissolved. A peptide that aggregates clumps together and drops out of solution, so the assay never sees the concentration you think you added.
This is where many experiments fail silently. You calculate a dose, dissolve the peptide, and assume it is uniformly distributed. In reality, part of it may be stuck to the vial wall or clumped at the bottom.
Watch for these signs:
- Cloudy or hazy solution after reconstitution
- Visible particles or film on the vial
- Inconsistent results across wells that should match
- Activity that drops as concentration increases
Solubility depends on the sequence. Hydrophobic peptides resist aqueous buffers. Acidic and basic peptides need different pH ranges. Get the solvent wrong and you lose the compound before the experiment starts.
Adsorption losses are the quiet cousin of aggregation. Peptides stick to plastic and glass, especially at low concentrations (Adsorption of Cationic Peptides to Solid Surfaces of Glass and Plastic). Use low-binding tubes and add a carrier protein when the protocol allows.
Peptide Storage and Handling: Where Reproducibility Is Won or Lost
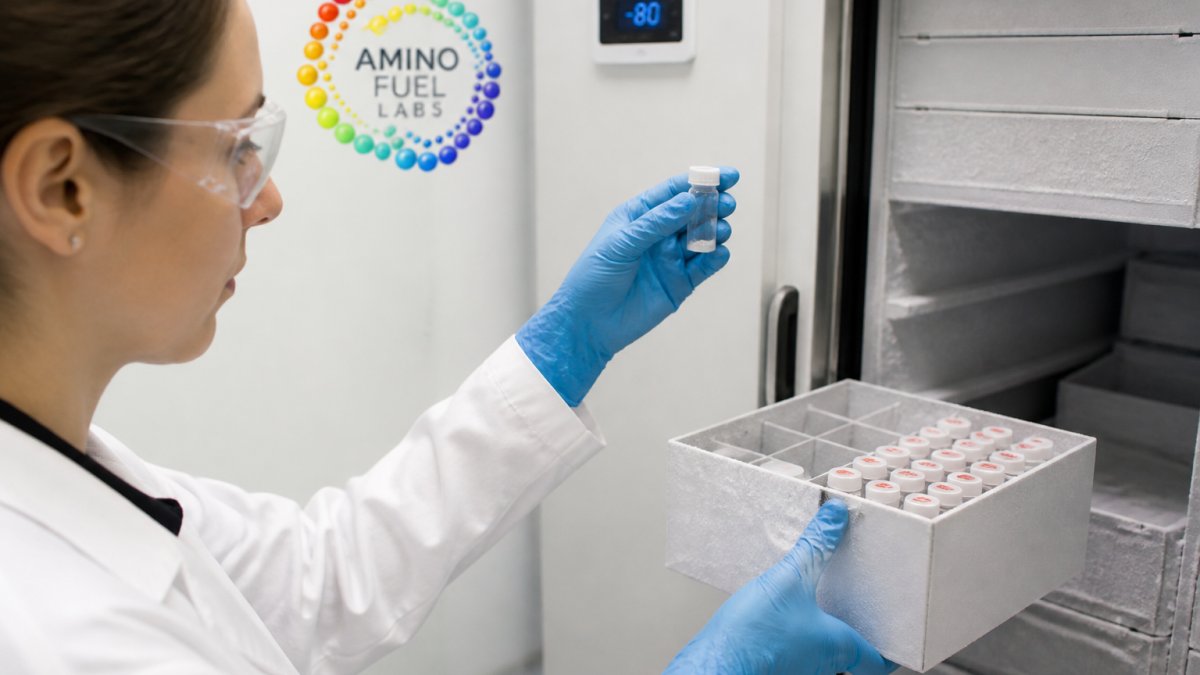
Peptide storage and handling decide whether two experiments run months apart produce comparable data. Get this wrong and no amount of careful assay work will save you.
Store lyophilized peptide at the temperature the supplier specifies, usually well below freezing, and keep it dry. Once reconstituted, follow the stability window for that specific compound. But treat those as the floor, not the whole protocol.
The variables that actually matter:
- Freeze-thaw history. Each cycle can degrade a fraction of the peptide. Aliquot before the first use, never after, and record how many cycles each aliquot has seen. A vial that has been thawed five times is not the same reagent as a fresh one.
- Moisture ingress. Lyophilized powder is hygroscopic. Weigh and aliquot quickly in a low-humidity environment, and let vials equilibrate to room temperature before opening to prevent condensation on the powder.
- Adsorption losses. Peptides stick to plastic and glass, especially at low concentrations. Use low-binding tubes, avoid unnecessary transfers, and add a carrier protein when the protocol allows. A dose that looks correct on paper can be materially lower in the well.
- Light and oxygen exposure. Photosensitive sequences and oxidation-prone residues (methionine, cysteine, tryptophan) need amber vials and, where appropriate, inert gas overlay.
- Freezer cycling. Frost-free freezers self-defrost, and the resulting temperature swings degrade peptides over time. A dedicated, non-defrosting freezer or a monitored cryogenic box is safer for long-term storage.
Document storage history like a reagent record. For every lot, log the receipt date, storage temperature, number of freeze-thaw cycles, reconstitution date and solvent, and any deviations.
Lot-to-lot variability is real. Even with a clean Certificate of Analysis, two lots of the same sequence can differ in residual moisture, counterion content, and aggregation propensity. When you switch lots, run a bridging experiment against the previous lot before trusting a new result.
How to Verify Peptide Purity Before You Trust a Result
Verifying peptide purity means confirming the compound's identity, purity, and quantity before you build an experiment around it. Skipping this step is how researchers end up troubleshooting an assay that was never the problem.
Purity and peptide content are not the same number. A vial can read high purity by HPLC and still contain less actual peptide than expected once moisture and counterions are counted.
A practical pre-experiment check:
- Confirm the lot number matches your Certificate of Analysis
- Review the HPLC chromatogram for a single clean main peak
- Check mass spectrometry results against the expected molecular weight
- Note the peptide content figure, not just the purity percentage
- Record storage conditions since receipt
If any of these are missing, you are guessing. We provide lot-matched third-party Certificates of Analysis and accessible HPLC and MS reports for exactly this reason.
Reading a Peptide Certificate of Analysis Line by Line
A peptide Certificate of Analysis is the supplier's documented record of a batch's identity, purity, and testing results. It is the single most useful document for judging whether a compound is fit for your study.
Read it line by line, not just the headline purity figure.
| CoA Line | What It Tells You | Red Flag |
|---|---|---|
| Lot number | Ties document to your vial | Missing or mismatched |
| HPLC purity | Percent of main peak | No chromatogram shown |
| Mass spec result | Confirms molecular identity | Absent or off-target |
| Peptide content | Actual peptide by mass | Not reported |
| Appearance | Physical state of material | Unexpected color or texture |
| Storage guidance | Handling conditions | Vague or generic |
The purity percentage is where suppliers differ most. A figure that ignores moisture and salt content overstates how much real peptide you have. Ask for the peptide content figure alongside purity.
Controls, Replicates, and Assay Validation: Separating Failure From Inactivity
Controls, replicates, and assay validation are what let you tell the difference between a peptide that failed and an experiment that failed. Without them, a null result is meaningless. Most protocols list controls but never explain how to use them as a decision framework, which is the step that actually resolves the ambiguity.
Build these into every run:
- A positive control known to produce a response in your system
- A vehicle control with solvent but no peptide
- At least triplicate wells for every condition
- A dose-response curve rather than a single concentration
- A negative control that should show no signal
Validate the assay before you trust the result. Assay performance has measurable properties: the Z′-factor (a standard measure of signal-to-noise separation between positive and negative controls), the coefficient of variation across replicates, and the linear range of your detection method. If the positive control fails, the assay is broken, not the peptide. If the vehicle control shows activity, you have a contamination or solvent problem.
A decision framework for a null result:
- Did the positive control respond? If no, fix the assay first. The peptide is not the variable yet.
- Did the vehicle control stay clean? If no, investigate contamination, solvent effects, or assay interference.
- Are replicates consistent? High variability points to handling, solubility, or adsorption, not inactivity.
- Is the dose-response flat across all concentrations? A flat line suggests a technical problem (degradation, aggregation, wrong solvent) more often than true inactivity.
- Does the curve shift between runs? That pattern points to stability or solubility issues rather than a mechanism problem.
- Only after 1-5 pass should you consider that the mechanism, dose range, model, or endpoint may be wrong.
This order matters. Researchers routinely jump to step 6 and redesign the biology when the real fault was in steps 1-5.
Reproducibility and reporting standards. Document the protocol version, reagent lots (including peptide lot and storage history), assay performance metrics, and outcome measures for every run. Reporting these details is what makes a result reproducible by someone else, and it is the difference between a finding and an anecdote.
We built Amino Fuel Labs around the assumption that researchers need to trust their starting material, so documentation and lot matching are standard on every order. When the compound is verified, you can focus your troubleshooting on the assay. If a result looks wrong, check the peptide last and the workflow first.
Conclusion
Peptide experiments fail for reasons that are usually findable and fixable. Degradation, aggregation, poor storage, unverified purity, and weak controls account for most disappointing results, and each one has a clear diagnostic step.
Start with your Certificate of Analysis and your handling records before you blame the compound. Amino Fuel Labs supports that work with 99%+ HPLC purity, lot-matched third-party Certificates of Analysis, and accessible lab reports on every product, plus fast U.S. fulfillment and 24/7 support. Shop now and give your next experiment a verified starting point.
Frequently Asked Questions
Why do research peptides fail in experiments?
Most failures trace to the material or the handling, not the biology. Degraded peptide, aggregation during reconstitution, adsorption to plasticware, and low actual peptide content behind a high purity number all produce flat or erratic results. Batch variability between lots adds another layer. Before concluding a compound is inactive, confirm identity and purity from a lot-matched Certificate of Analysis, check storage history, and rerun with a fresh aliquot and proper controls. A failed assay is usually a materials question first.
How can peptide purity affect experimental results?
Purity on an HPLC report describes the percentage of the peak area that is the target compound, not the mass of peptide in the vial. Moisture, salts, and counterions reduce actual peptide content, so two vials both labeled 99% can deliver different amounts to your assay. Impurities can also carry their own biological activity, which muddies dose-response curves. Always pair purity with the net peptide content figure and calculate your doses from that number, not from the vial weight.
Why might a peptide fail to dissolve in an assay?
Hydrophobic sequences often resist aqueous buffers, and forcing them with harsh sonication or high heat can cause aggregation instead of dissolution. Adsorption to tube walls removes peptide from solution without any visible sign. Work from a small aliquot, try a brief low-power sonication in a suitable solvent, and inspect for cloudiness or particulates. If the peptide still will not go into solution, the problem is the solvent system, not the compound's activity, and the assay should not proceed.
How should research peptides be stored and handled?
Lyophilized peptide should stay sealed and desiccated at the temperature the supplier specifies, typically frozen for long-term storage. Let vials reach room temperature before opening to prevent condensation on the powder. Once reconstituted, aliquot into single-use volumes and avoid repeated freeze-thaw cycles, which drive aggregation and degradation. Label every aliquot with lot number and date. Keep a handling log so a failed run can be traced back to a specific vial, thaw, or buffer batch.